This is the second part of using Entity Embed to add a gallery to CKEditor. If you didn't read part one that is okay, I will link to it later.
The custom gallery multi-image block we create in this article will be used to add embed-able galleries to CKEditor.
First up, we will create a new block type. We can do that on the block types page.
Manage > Structure > Block Types
/structure/block-content
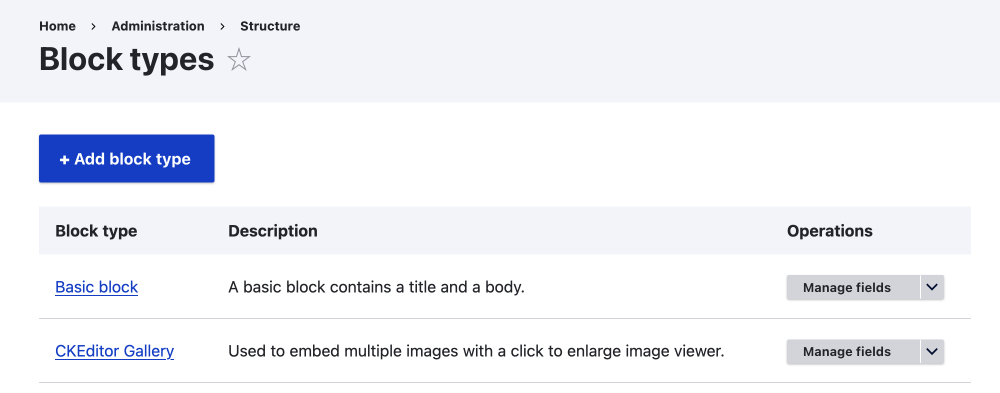
Create a New Block Type Multi-image with Photoswipe
- Click + Add block type.
- Add a Label.
- I am going to call it CKEditor Gallery.
- Add an optional description.
- Used to embed multiple images with a click to enlarge the image viewer.
- Create a new revision. Check this if you want to track changes.
- Save and manage fields.
Manage Fields
- Delete the Body field (Maybe do not need to do in Drupal CMS).
- Use the operations select menu to delete.
- Click Delete.
- Click + Create a new field.
- Check Media and click Continue.
- You will need to enable Media if you haven't already.
- Label and Click Continue.
- Media Image and adjust the machine name if you need to.
- Field Storage.
- Type of item to reference. Leave as Media.
- Allowed number of values. Select Unlimited or add a limit.
- You'll want to allow more than one image, as CKEditor can embed single media entities out of the box.
- Add Help text.
- Check required if you want.
- Reference type.
- Reference method. Leave as default.
- Create referenced entities if they don't already exist, leave it unchecked.
- Media Type. Check Image.
- Set default value. Not needed in this situation.
- Save setting.
Okay, now let's Manage the Display.
You may need to install Photoswipe. This can be done like any other module. That is, add the module to your modules directory, and install it on the extend page or using drush.
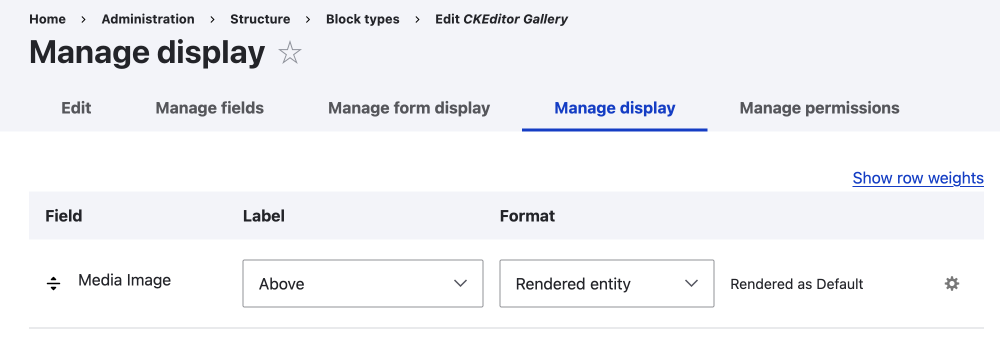
Click on the Manage Display Tab
- Select hidden for the Label.
-
Select Photoswipe for the format.
Image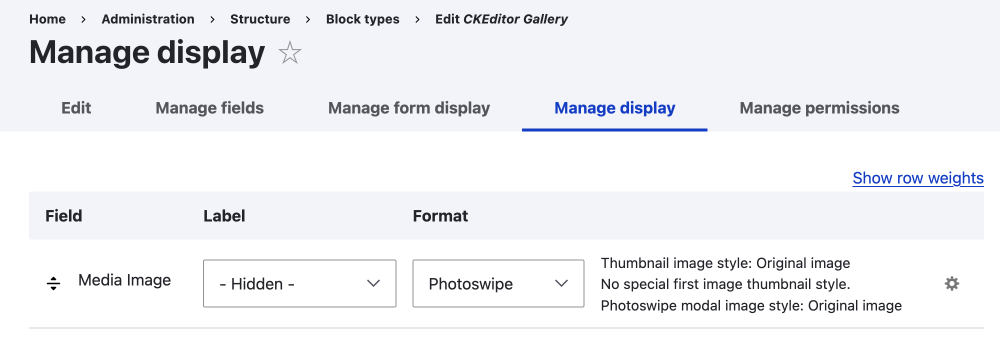
-
Set the options for Photoswipe by clicking on the small gear.
Image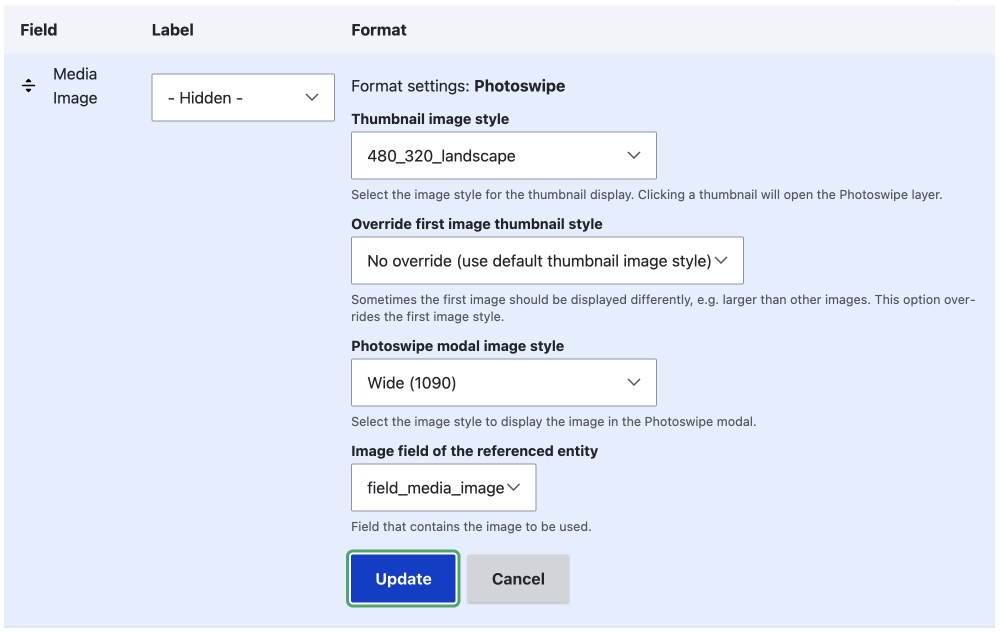
In this example, I have set up a few image styles to use; a thumbnail 480 X 320 and a 1090W image for the modal. This crops all image to a landscape aspect ratio, but in the modal, images keep there aspect ratio. This is a fairly simple set up, as you may want to set up responsive images, and only for illustration purposes. - Click Update
- Click Save
If you navigate back to the block type page, you should see your new block type.,
Now, set up an embed button for your new block type, and add it to the CKEditor.
Great. Now you should have a button like the one shown in the image below.

Using your Embedded Entity
First, you'll need to create a block content.
Manage > Content > Blocks > Add block content
/block/add

Choose the type of block you want to create. In the above image, you can see we have a basic block and a CKEditor Gallery.
- Click on CKEditor Gallery
- Fill in the Block Description. We use the block description in the next step, so make it unique and note it down.
- Add the block content. In this case, we upload images to the media field.
- Save
Add your new Block to CKEditor
- Go to your content type.
- Click on the E in the CKEditor toolbar.
-
Type the block description from the previous step.
Image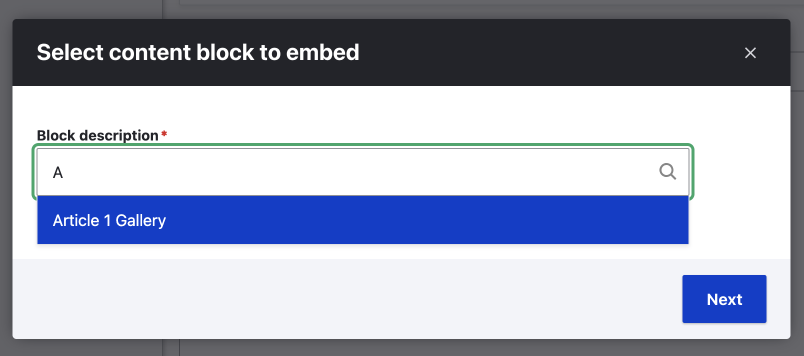
-
Leave other options as they are.
Image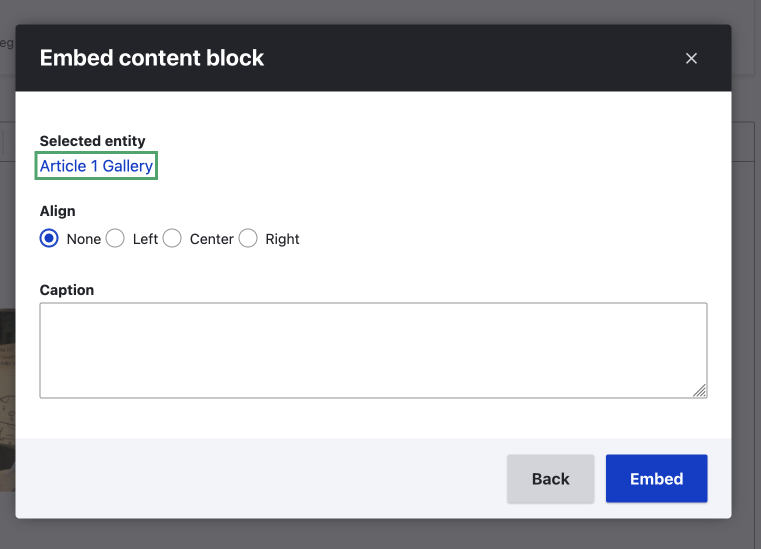
- Click Embed.
That's it you now have a gallery in your CKEditor. If you save your article and click on any of the images in the gallery, the image will open on top of your article, and you can swipe through the images.

Edit an Entity Embed Element
To edit the element, you can do that from the block content page. However, it is worth noting that the embedded entity also has a smart user interface, as illustrated below.
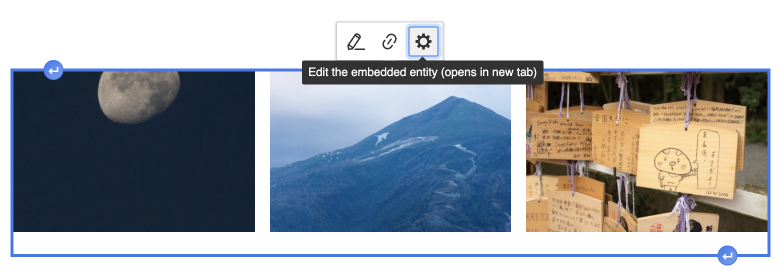
Summary
In this article, we have learnt about how to create a reusable custom Gallery Block. First, we created the block, adding one medal field. Then we looked at the manage display page. This is where you control the front-end look of the custom block. We hid the label of the media field and changed the format to the Photoswipe format. PhotoSwipe is a separate media field formatter that needs to be installed.
Then we looked at how easy it is to use the new embed-able galleries.
In a follow-up article, I look at some UX enhancements for setting up the entity embed module.
If you found this article of use, sign up for my newsletter. I write a lot about Drupal and front-end development and design. You can do that at the bottom of the page or that pop-up over there on the right.
Thanks for reading. 'Til next time. Carpe diem.