Content authoring is an important part of a web presence and website. I would say it is the most important part. We are always needing to add or change content to keep our website relevant and to keep customers or readers coming back.
This content needs to be easy for the content creator to add and edit, and it needs to be easy to use for the application end user.
In Drupal, there are many ways to add content depending on what you want to present. One of the main ways to present longer piece content such as articles, papers, or reports is to use CKEditor 5. CKEditor ships with the standard install of Drupal.
CKEditor 5 and Drupal
The newly developed CKEditor 5 is a great editor, however, on a standard install of Drupal you may find CKEditor a little limiting. Some things that are missing are better Media management and smart content linking. We will look at both of these soon in this article.
Or the opposite maybe true, you may find the CKEditor toolbar has too many options.
The great thing about Drupal CKEditor is it is extremely customizable.
In this article, we are going to look at how we can customize CKEditor. I will guide you to other articles for more details and keep this article as an overview of how CKEditor can be customized; a birds eye view of the different parts you need to think about.
By the end you will have the knowledge to create the perfect CKEditor for your application.
Customizing CKEditor 5 for your Drupal application
To customize CKEditor 5 there are 3 areas you need to think about. They are:
- The idea of text formats & editors and how they work.
- Adding Modules for the extra functionality you need. This will usually require you to add configurations to the text formats and editors mentioned in point one.
- Styling the front-end of the CKEditor output and the CKEditor UI.
Text Formats & Editors
Text Formats & Editors are the most important thing to get your head around when it comes to customizing CKEditor, as without knowing how they work, you won't be able to set up anything else. To learn about text formats, we will look at a few of the must-have modules in the next section.
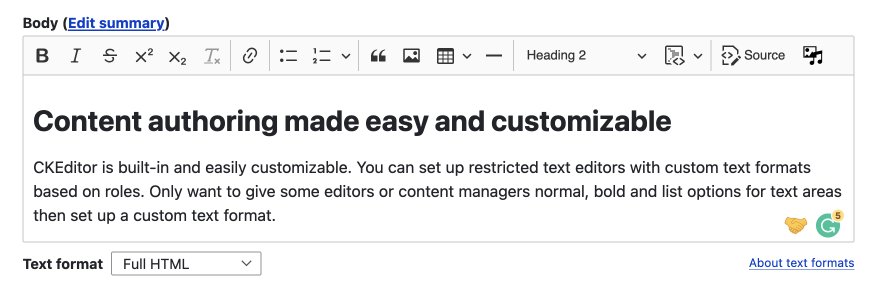
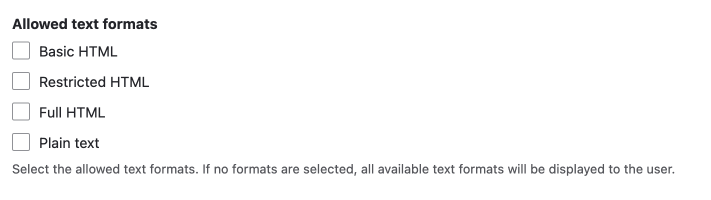
Text Formats are where you configure how the text areas on your site look and function. You can set a text area to use plain text, a basic WYSIWYG with restricted formatting options, or a full feature Editor.
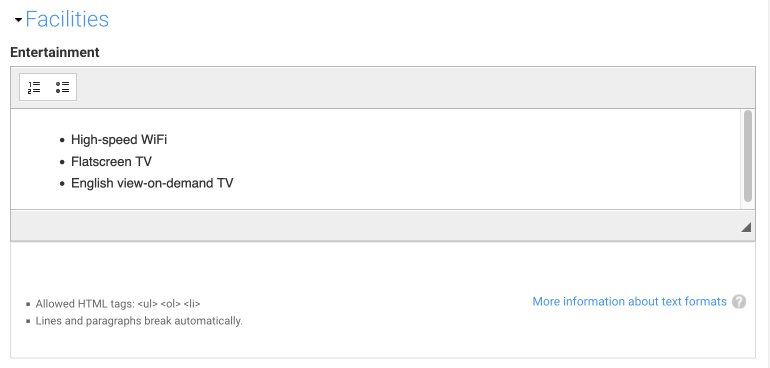
You set these on a text area by text area instance. This is powerful stuff, and it is included with Drupal out of the box.
I have written an in-depth article on text formats and how to set them up: Drupal text formats deep dive goes over the basics of the text formats configuration.
The article is purely focused on text formats. You can find out how to add new functionality and create new text formats. If text formats are something new to you, I suggest you check it out.
Let's move on to other functionality and features you will probably want to add.
Adding Functionality to CKEditor by adding new modules
Some text format recipes that are helpful for most sites are:
- Linking with internal content search.
- Adding better media management in CKEditor.
If you want to implement either, you will need to install new modules and configure them before you can use them in your text formats.
I have covered both of these in the Linking and Media articles, but let's take a quick look anyhow.
Linking
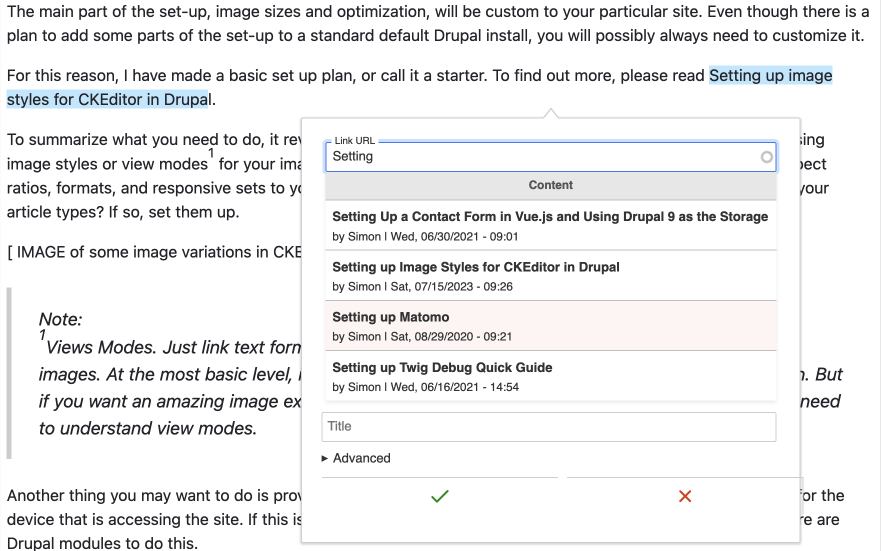
Linking is one of those things that a basic install of Drupal is really lacking. There is a basic linking functionality, but you have to manage links manually. Luckily, there are a few modules that add the ability to search for internal links. The one I have landed on after using a few different modules is Linkit.
This Linkit module is as easy as installing, enabling a Linkit profile in your text format or formats that you want to use it, and it is all go. It replaces the default link functionality with a nice pre-emptive search. Please check out Linking in CKEditor for more information.
There are other modules related to linking you may want to add as well. These are anchor links and advanced link (attributes). These are covered in the above linked article.
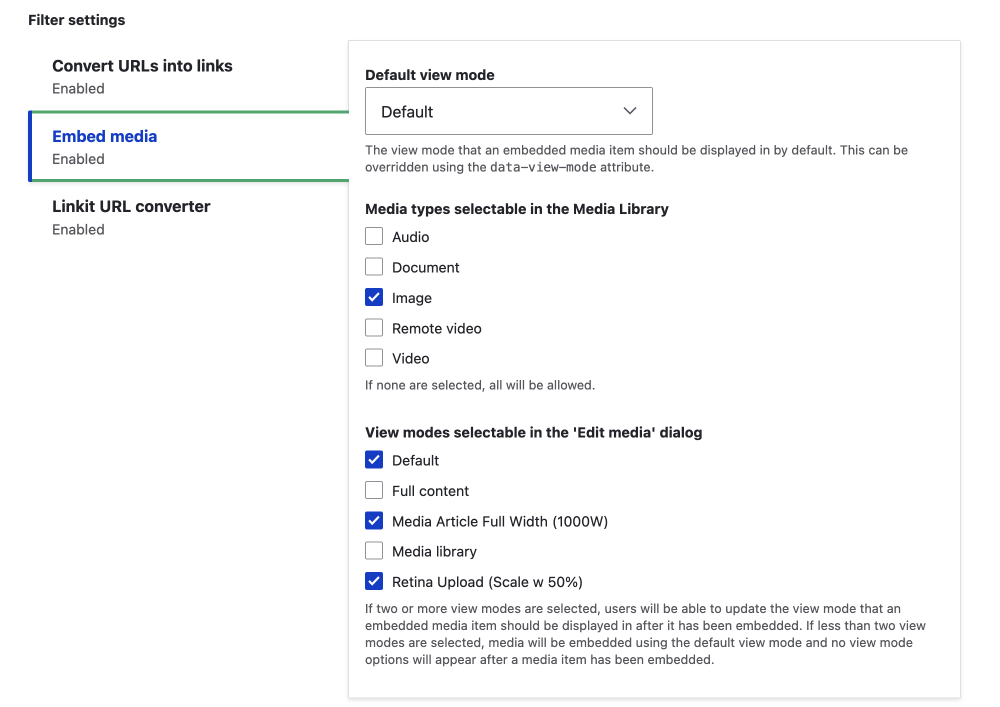
Image Styles & Media In CKEditor
Unlike Linkit discussed above, adding better images to CKEditor requires a bit of set up.
The basic set up I cover in Drupal Media in CKEditor section of the Drupal Media article. The basic set up described in the article configures one image style or size. However, the chances are you will want to add more than one style or size and maybe even responsive images and image optimizations.
The one thing I will point out in this article is that setting up Media comprises 2 parts:
- Setting up image styles and optimization.
- Configuring CKEditor to use your image style and optimizations
Set up Image sizes and optimization
Note: I am going to talk about image size and optimization in a broad manner as it can be quite complex and includes, sizes, quality, effects, and image formats and responsive image set.
The main part of the set-up, image sizes and optimization, will be custom to your particular site. Even though there is a plan to add some parts of the set-up to a standard default Drupal install, you will possibly always need to customize it.
For this reason, I have made a basic set up plan, or call it a starter. To find out more, please read Setting up image styles for CKEditor in Drupal.
To summarize what you need to do, it revolves around creating and setting up multiple custom image sizes using image styles or view modes1 for your images. This is the part where you can customize your image sizes, aspect ratios, formats, and responsive sets to your needs. Do you need wide images and smaller aligned images for your article types? If so, set them up.
Note:
1Views Modes. Just link text formats are the glue for text areas, view modes are the glue for images. At the most basic level, if you are not using Media module, image styles will be enough. But if you want an amazing image experience for both the content creator and the viewer, you will need to understand view modes.
Another thing you may want to do is provide different image compression formats; be it PNG, WebP, or AVIF, for the device that is accessing the site. If this is the case, you need to set up image rendering pipelines. Luckily, there are Drupal modules to do this.
Once you have your Image View modes set up, your unique combination of an image rendering pipeline, an image style, and/or responsive image set, you'll be ready to configure your CKEditor text formats to use them.
Give CKEditor access to your beautifully configured image view modes
Once you have your image configurations customized for your site, you will then need to configure the text formats to use them in CKEditor. It is the text format configuration that is the glue to adding images to your written content.
In the text-format setting page, you select the view modes that are available to the editor. Once this is done, the different image styles are available to use. For more details, please check the aforementioned article, Setting up image styles for CKEditor in Drupal.
Okay, so this may seem like a lot of work, but regardless of the system you use to publish your articles, this still needs to be done. The great thing about Drupal is the whole process is configured in Drupal, no need for external services.
Other functionality you may want to add
There are other functionalities you may want to add to CKEditor and or text areas and these will need to be configured in text formats.
Some examples of these functionalities are:
- Custom styles.
- Adding other entities.
- A TOC The Table of Contents short-code module. Note there are TOC solutions that don't use CKEditor that I prefer to use, one of these is TOC.js.
- A code editor.
Related: How to Add Custom Styles to Elements in the Drupal WYSIWYG
The chances are if you want to do something, there will be a project on Drupal that can do it.
Let's move on to the final part of making your content authoring experience and end content the best it can be for the reader. That is styling the front-end.
Styling the front-end of the text-formatted element
Styling the can be broken into 2 areas. Number 2 isn't necessary but it is an excellent touch.
- The final rendered output of the page.
- Adding the styles so that the CKEditor will reflect what the final out put will look like.
Let's take a quick look at both of these.
Final rendered output of the page
This is done as part of your theme. Drupal adds a class to the text formatted elements on the page. In the Starterkit theme this class is text-formatted, and in Olivero the default Drupal theme it has been re-name as text-content. You can add a theme function to make it any name you want.
The actual class name is not what matters here, it is the fact that the text formatted regions can all be styled the same by prefixing any selector with the class name. For example, .text-formatted ul will only effect the ul in the text formatted text areas and no where else.
CKEditor Styling
I find it useful to have the styles the same in the CKEditor as they are on the front-end. This is done by adding a link to the CKEditor style sheet in the theme info file. Please check how you can do that in the How to add styles to CKEditor article as there are a few things to need to be aware of. One I will point out here this will not be a exact preview of the area unless you modify the CKEditor width to accommodated for your image style and text width.
That's it for front-end styling and that's it for text-formats.
JSON:API
Always good to mention that Drupal has the JSON:API so you can use Drupal as a backend for your SPA. The data is formatted to retain all its formatting so it can be parsed in JavaScript and present exactly how it is entered in the backend.
Summary
In summary, this article has shown you the importance of text formats in Drupal. That text formats are key to enabling content editors and creators the best experience. And by giving editors and creators a great experience, this flows through to the end user.
We also looked at how text formats work and how we can add new functionality to the CKEditor by configuring the text format configurations. We can do this by creating a new text format or by modifying a default one.
We can also add modules to enhance what come with a standard Drupal install. We looked at Linkit and using Media instead of the file system to manage images.
Finally, we touched on styling, which is where all our hard work comes to life.
I hope this article was useful to you. I think it has implication outside of Drupal. It is something that needs to be thought about with any front-end user interface design and development. It makes everyone's experience much better.
Thanks for reading and be sure to sign up to the newsletter below: A weekly fix on what's up in the front-end, from someone who has been around in web development from when marquee was deprecated.
Until next time seize the day.