Uploading multiple images to CKEditor is not possible, making it difficult to add a gallery of images to CKEditor. Even though I haven't tried this and it would be a bad user experience, it would be possible to add images individually and add a style to them to act like a gallery.
However, using the Entity Embed module is a much smarter solution.
In this article, we use Entity Embed to embed a basic block entity, and once done, we create a custom block type using the Media module and an excellent image field format module to add PhotoSwipe to the gallery.
Installing and Configuring Entity Embed
Installing Entity Embed
Entity Embed https://www.drupal.org/project/entity_embed
You can install Entity Embed like you can install any other Drupal module.
Some things to note about Entity Embed
If you manually install the Entity embed module, you will also need to add the Embed module. If you use composer, then it will manage the dependencies for you.
Dependencies:
Embed Module https://www.drupal.org/project/embed
Configuring Entity Embed
Once you have the module installed, you first need to create an embed button.
Create a new E button
Note: you may want to create the custom block type you want to embed first. If you want to create the new block type first, please check part two.
For now, I will demonstrate how to create an embed button using the default block type, that is, the basic block type.
- Visit the Text editor embed buttons page.
Manage > Configuration > Content authoring > Text editor embed buttons
/admin/config/content/embed
- Click the Add embed button
- Add a Label: Make it clear what the button is used for. I.e. Embed a Gallery
- Embed type: Select Entity
This can't be changed. However, with only entity embed installed, there will only be one option.
There are other modules that allow other types of embeds, such as Views. Even though creating smart embed-able views is a more advanced topic, the setting up of embed-able views is no different from what we are doing here. - Entity type
- Select Content Block
- Block type
- Check the type you want this Embed button to be used for.
Only the Basic block will be available, unless you have already set up a custom block type.
- Check the type you want this Embed button to be used for.
- Allowed Entity Embed Display plugins
The options here are: Full, Token, Entity ID, and Label.
It is best to select full here for most cases. Otherwise, you will have many choices when you add a block to your content. Full is the full content view mode for the block type. - Button icon
If you are only allowing 1 type of embed, you may not want to add an icon. If you are setting up multiple types of embeds, you will possibly want to add a unique icon. The default icon is an E. - Click Save
Next, we need to add our newly created embed button to a text format.
Related: Drupal Text Formats Deep Dive: All you need to know about text formats.
Add the E button to a Text Format
Visit the Text Formats and Editors page. Select the text format you want to add the embed button to by using the configure operation.
Manage > Configuration > Content authoring > Text formats and editors
/admin/config/content/formats
- Drag the E to the Active toolbar. Or the icon you added in the preceding step.
- Enable Filter
- Display embedded entities
- Click Save
This will result in the CKEditor that looks like the below image.

Now you can add basic blocks to your CKEditor.
- You will first need to create a block content.
- Then go to a piece of content to embed your block.
If you need more details on how to use the embed button, more detail is given at the end of part two.
This is great, but adding a basic block is somewhat pointless unless, of course, you want the basic block to be embedded on multiple pieces of content.

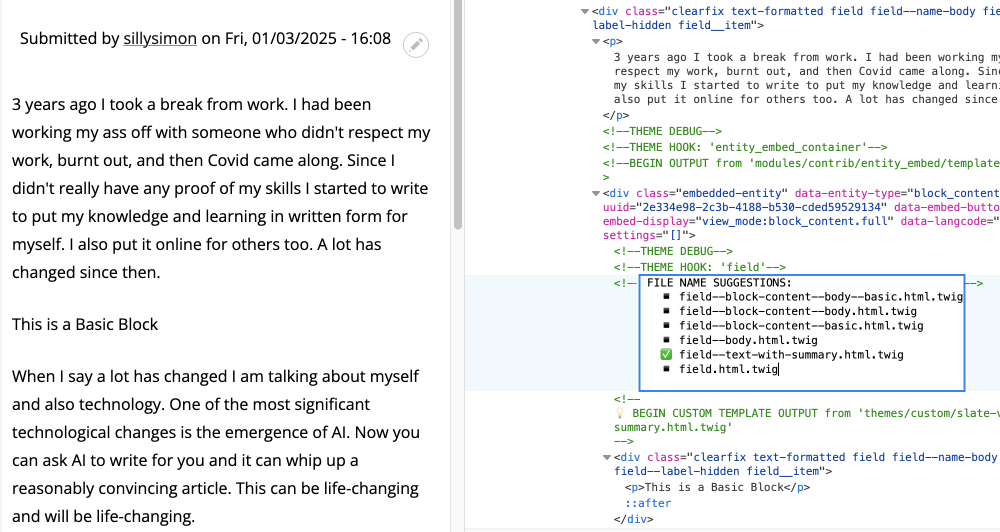
embedded-entitySince this will probably be the case, you will want to create a custom block type so you can style it in some way to distinguish it from the main content. We will set up a custom block type in part two.
Summary
In this article, we looked at how to install the entity embed module and set up an embed button. We looked at the setting for the embed button and how you will probably want to limit the allowed entity embed display plugins to just the full view mode. Then we looked at how to add the embed button to a text format. This shows you how simple the process is to install and configure the entity embed module.
In the next part, we are going to look at how to create a custom gallery block type.
Thanks for reading. If this has been useful, be sure to sign up for the weekly newsletter where I discuss front-end web development and design to build modern eye-catching websites.